Twisting a fairly plain 3D shape can result in much more interesting geometry for 3D printing. This page explains how I made a fairly straightforward part using a double twist process. I have wanted to use this technique on more designs, but was not able to publish any because of problems with slicing that resulted from overlapping shells and the inability of most slicers to deal with them properly.
Fortunately the release of Netfabb’s new online STL repair service at https://service.netfabb.com allows STL files with overlapping shells to be repaired well enough for most slicers to process them OK. So with this in mind I decided to try doing a quadruple twist design.
My initial results were not all that good. I found that the end result was highly dependent on the twist parameters give to the geometry in the steps going from 1 to 2 to 3 to 4 twists. I found that using the same amount of twist for 1 and 2, and for 3 & 4 gave the most symmetric results, and these all looked better than non-symmetric ones. Here are screenshots of how, by accident actually, I hit on what I finally decided to print.
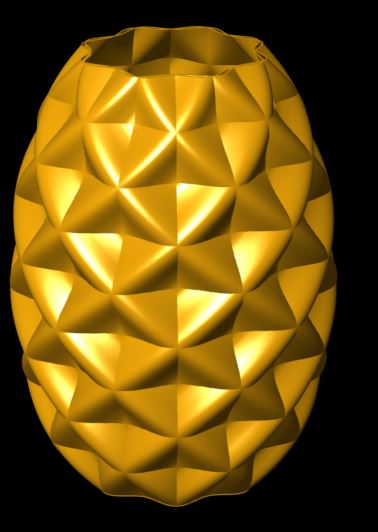
Untwisted geometry


This is a fairly straightfoward shape made by lofting a single curve that I put into 2 different circular arrays.
Single twist


This is what you’d expect from a single twist. It’s fine, but not particularly interesting.
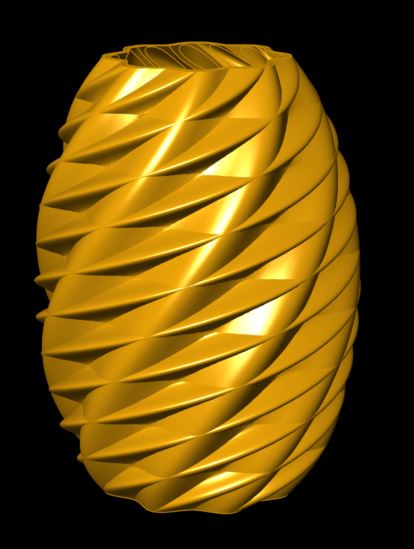
Double twist

Certainly far more interesting than a single twist, but I wondered – what if I twisted this one?
Triple twist

This was a surprising result and I thought it looked interesting. But the fact that it was non-symmetrical bothered me, so of course I tried…
Quadruple twist


This had nice symmetry, but it just looked too busy and complicated. I tried a lot of different twist angles but they all looked this bad – or far worse. I finally hit on a twist angle that produced this:


What good luck – this one had the right amount of complexity and symmetry, so I ran it through the Netfabb repair service (because no slicer could handle the unrepaired STL file) and printed it. Here’s the final result:

The STL file for this is here and here.
Last Update: 21 Jan 2018